My Home Server(s) - Part 3
In this chapter, I will explain my current home server(s) setup and my Kubernetes cluster.

The Motives
Over the years I had my home services running in docker containers, and managed by a Docker compose. This solution was working but was hard to upgrade and back up. I wanted to learn K8S and also upgrade the way my cluster works.
In addition to that, I had my combined Gaming PC and server described in the previous post. It was operating perfectly but had a few downsides:
- Required a giant case to fit a GPU and 6 Drives, which takes a lot of space and is extremely heavy and hard to move.
- Required a Power-hungry CPU to be running 24/7 which is not needed for a simple NAS or a server.
- Maintainance and periodic updates required downtime of all systems and were hard to troubleshoot.
So I decided to separate this single computer into 3 different machines:
- The Compute Server - 1L PC with a modern medium-tier CPU and enough RAM to run all of my VMs needs(and K8S cluster).
- NAS server with low-end but efficient CPU and a lot of RAM for cache.
- Gaming PC With a single GPU for gaming and editing needs.
The first two should be power-efficient and silent while the third Gaming PC should have great airflow and doesn’t need to be the most power-efficient. All of them should take up the least space possible.
The Compute Server
I chose the Lenovo Tiny m720q with I5-9400t which I got used from eBay. This is one of the only 1L PCs that exist that can accommodate a 10G networking card using its PCIe slot.
It’ll be running Proxmox as my home hypervisor and my single-node K8S cluster will reside inside one of the VMs. In the case that I require more computing or additional K8S nodes in the future, I can just buy more PCs like this one.
My current setup is a single node Kubernetes cluster, deployed using Flux. I’m using the genius Renovate tool which automatically opens PRs for me when there’s any update to any of the services I run.
I tried doing a multi-node cluster but for my use case, it wasn’t worth the power draw and the extra memory needed for decentralized storage.
The cluster is open-source and you can see it here.
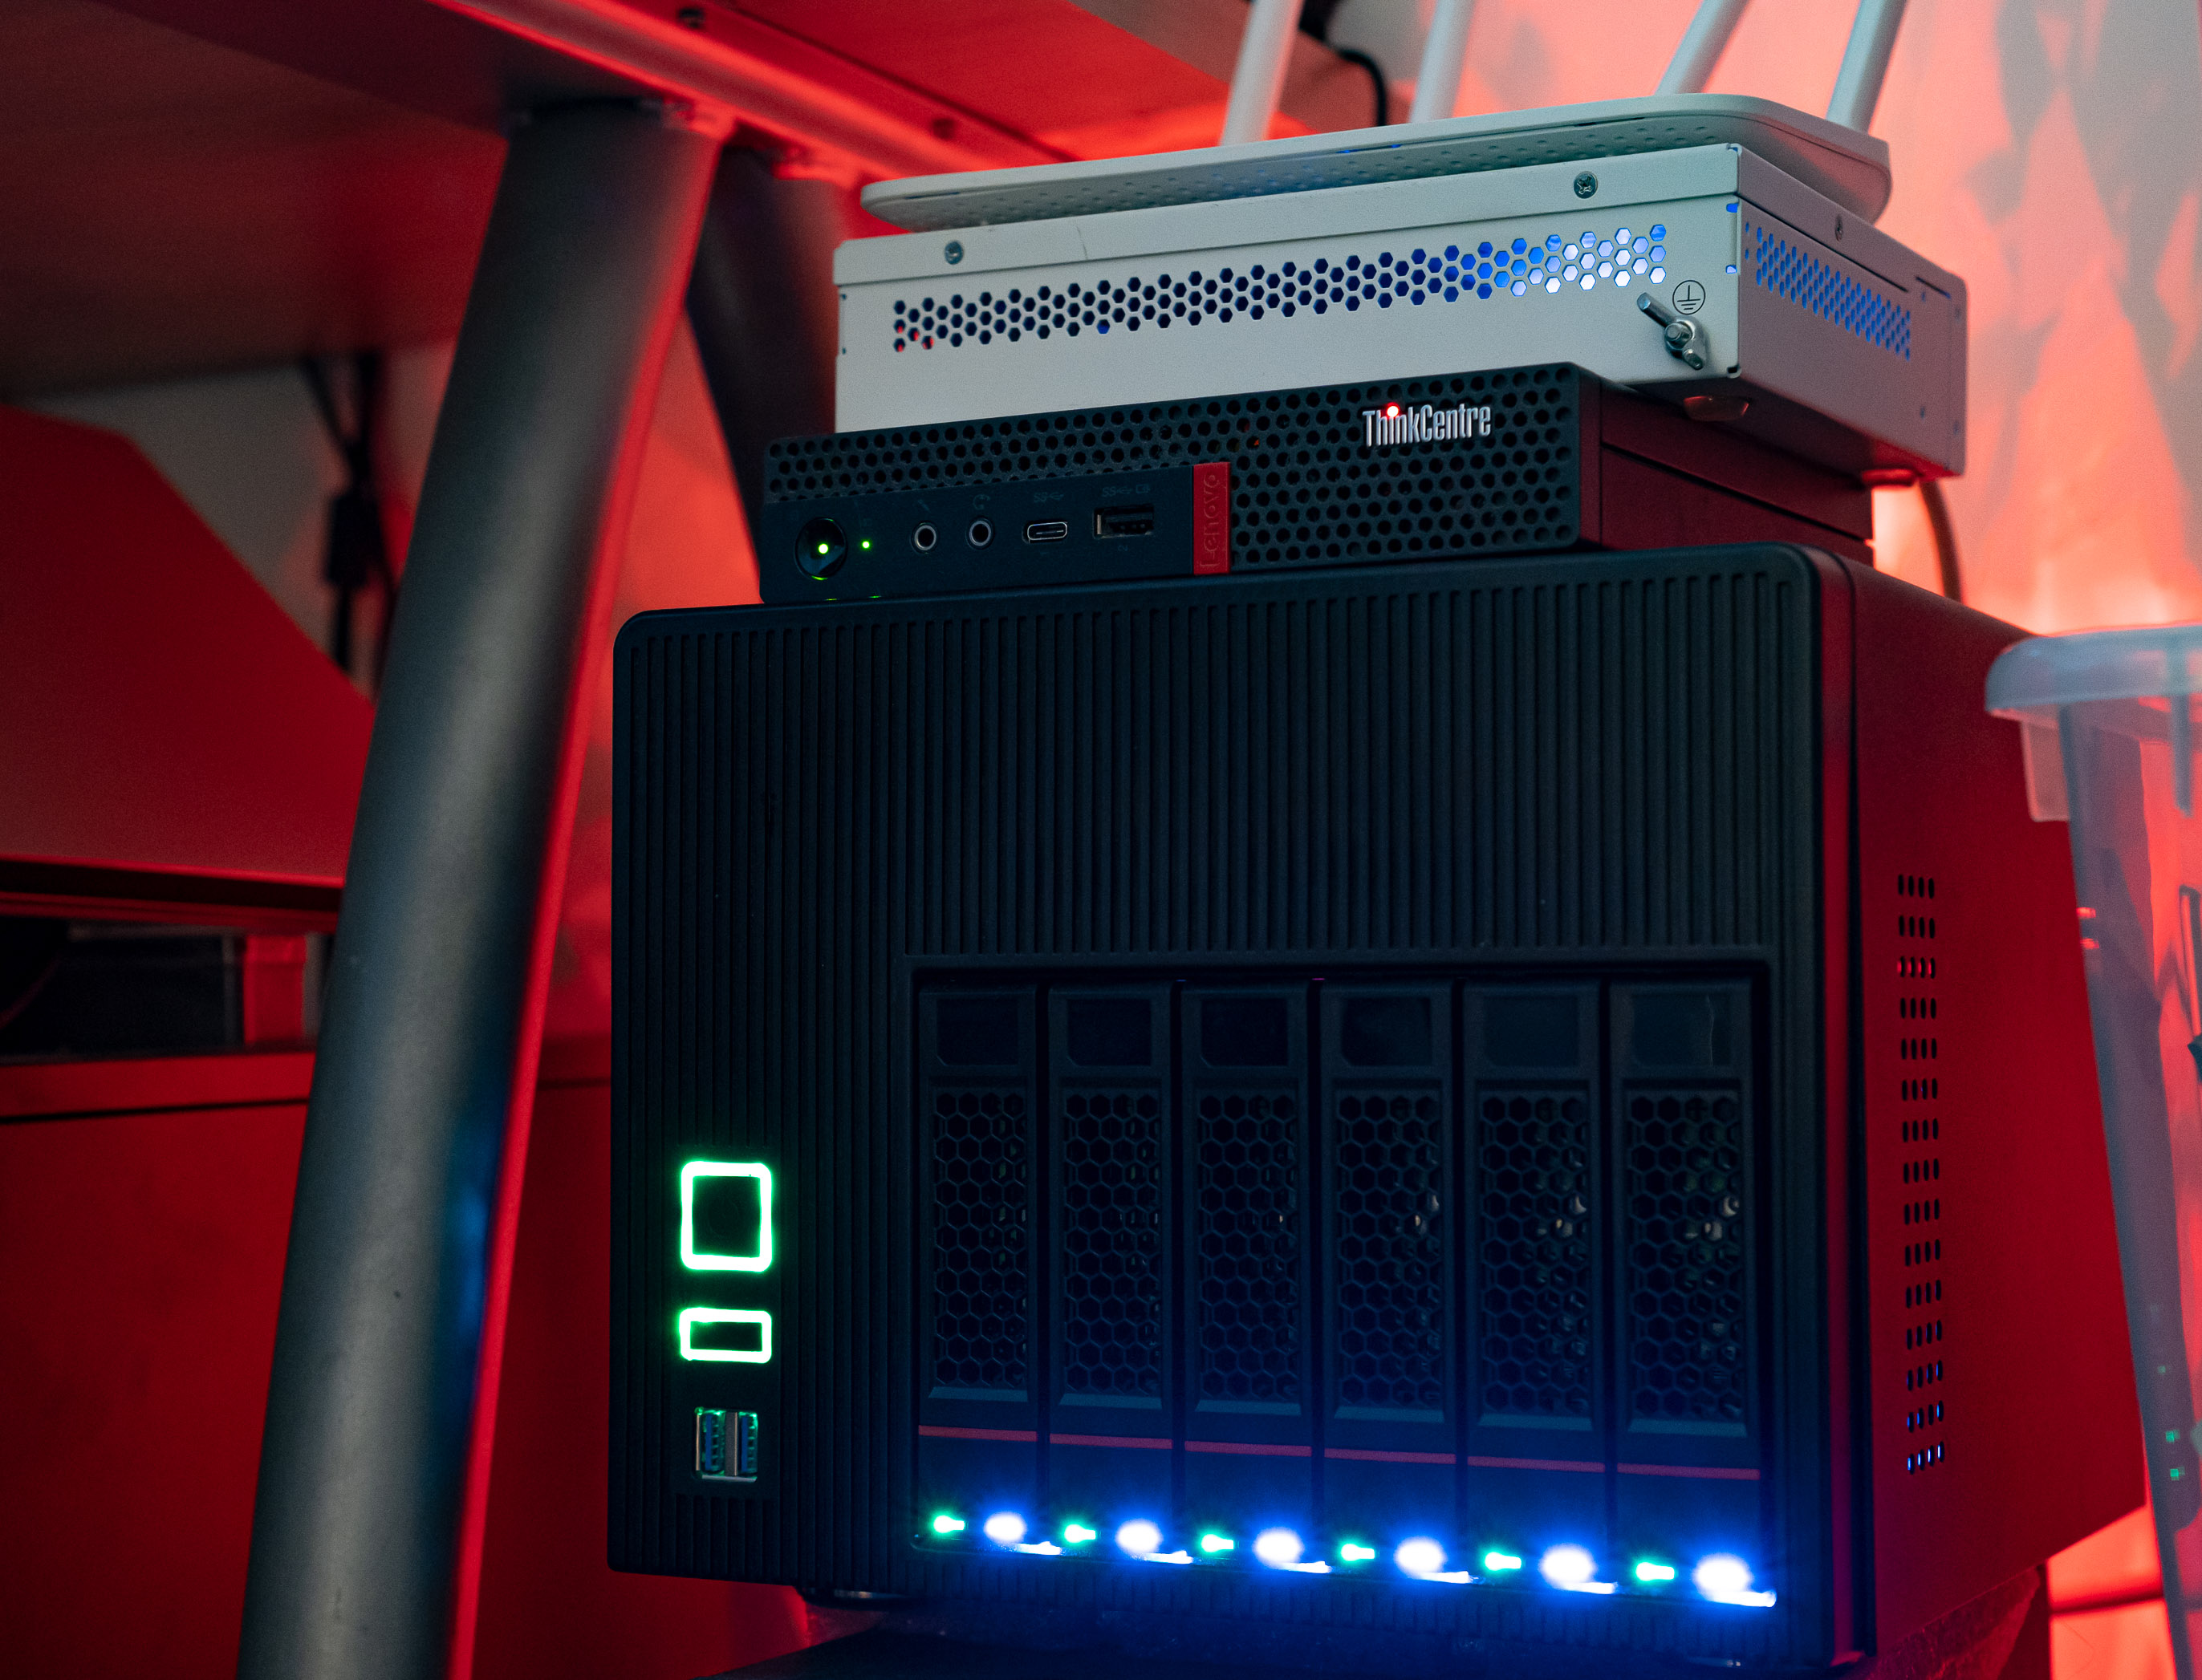
The NAS
Although I could get a pre-made NAS, I wanted to build it myself. Firstly to save costs and also to be able to run custom software and have a lot of RAM for cache.
I used this excellent case From Ali that allows me to have 6 drives in hot-swappable cages, while still being small and inexpensive.
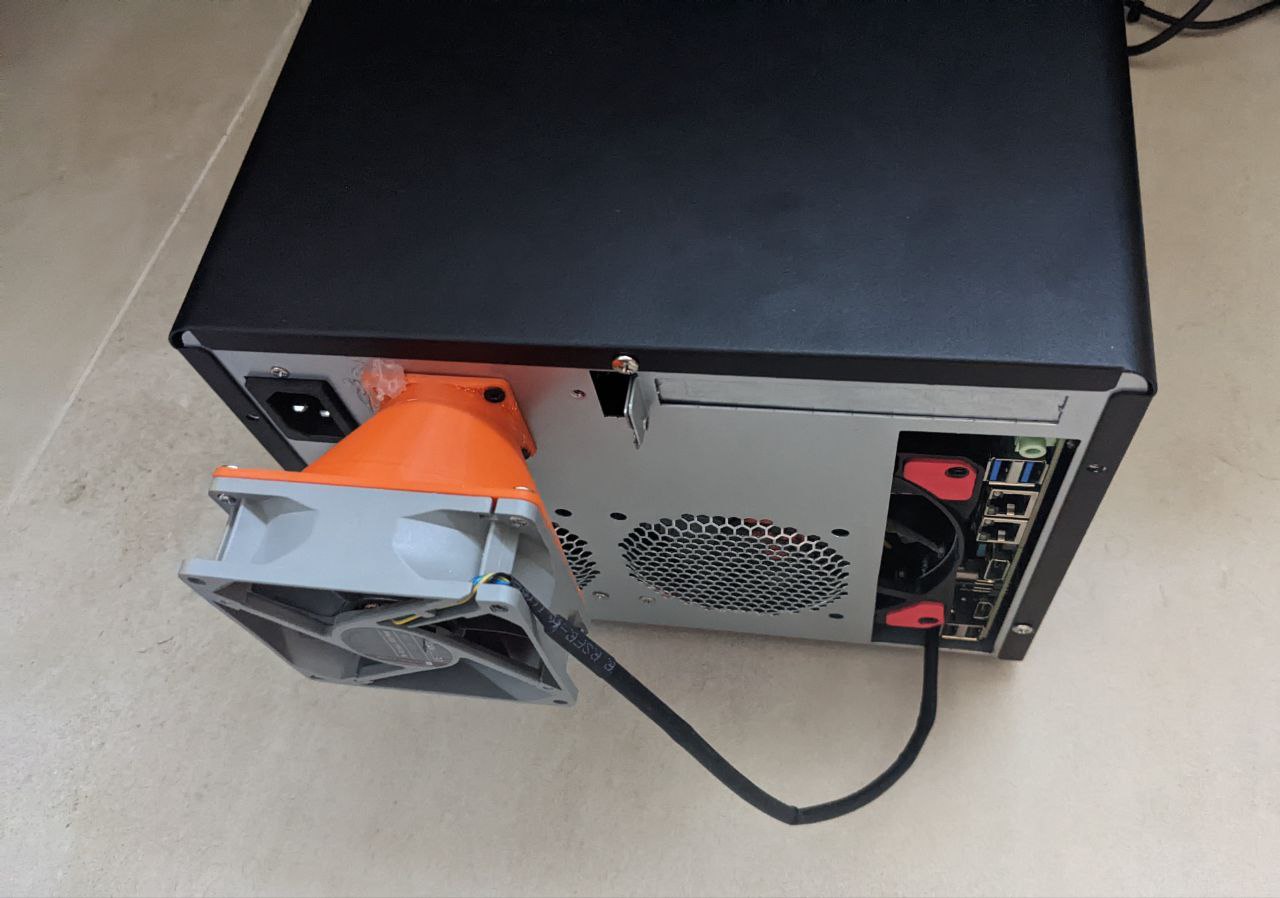
The fans in the case turned out to be loud, so I had to do some ugly hacks and print an adapter to use some silent fans I had laying around. I will put some proper fans I ordered once they arrive.
For software, I tried TrueNAS Scale but didn’t like the fact that apt is locked, so I kept with Proxmox using the zfs, nfs, smb combination I had in the last server.
Conclusion
This setup is more power-efficient, easy-serviceable, and space-constrained than what I had before.
I still need to upgrade to SATA drives which are quieter and more power-efficient than the SAS drives I have now.


Leave a comment